English
English
# uniCloud快速上手
# hello uniCloud
Hello uniCloud, is an example that demonstrates the various capabilities of uniCloud.
# Experience example
This example is currently only released for h5 version and Android app version.
Hello uniCloud has deployed 2 sets, which are connected to the Alibaba Cloud version and Tencent Cloud version of uniCloud respectively.
h5版地址(发布在uniCloud的前端网页托管上)
- Hello uniCloud 支付宝小程序云版地址:https://hellounicloud.dcloud.net.cn/alipay/
- Hello uniCloud 阿里云版地址:https://hellounicloud.dcloud.net.cn/#/
- Hello uniCloud 腾讯云版地址:https://hellounicloud.dcloud.net.cn/tcb/
Since this example is not adapted to the PC wide screen, if you use the PC browser to open the address, it is recommended to open the console with F12 and use the mobile phone mode to preview.
apk地址(发布在uniCloud的云存储上)
# Run Hello uniCloud source code
Source address of Hello uniCloud: https://ext.dcloud.net.cn/plugin?id=4082
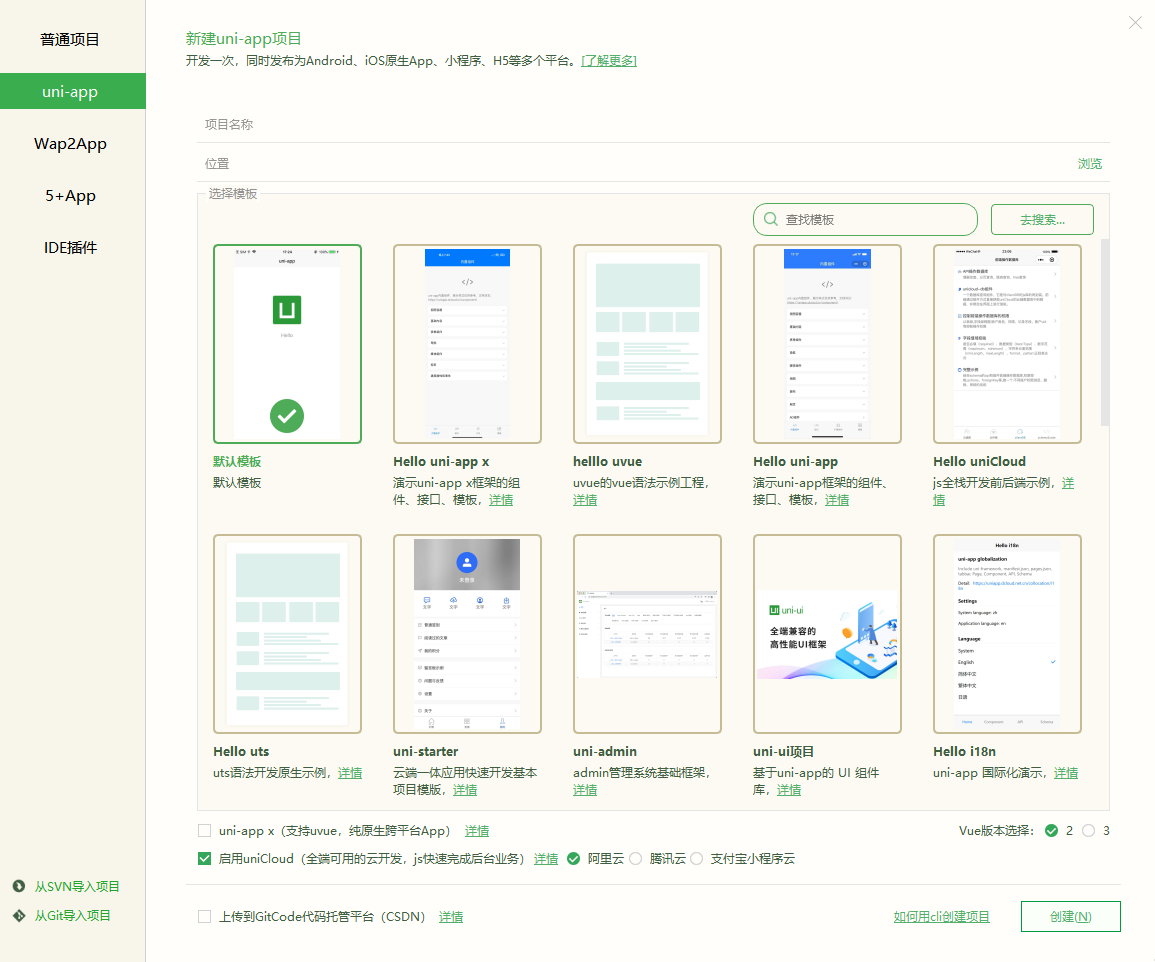
On the HBuilderX new project interface, select the uni-app project, and select the Hello uniCloud project template.
- Alibaba Cloud is recommended for the first experience, because the account opening process of Tencent Cloud is more complicated.
- The vue3 version is recommended because the compilation speed is faster. But note that lower versions of Android are not supported.
HBuilderX will pop up the uniCloud initialization wizard after the project is created, and deploy according to the wizard
- According to legal requirements, real-name authentication is required to open a cloud server. If not, please complete it according to the prompts
- Create a service space. After the creation is complete, go back to the wizard to refresh the list and select the service space (it may take tens of seconds to create a service space. You can check whether the creation is complete in the web console.)
- Follow the wizard prompts to upload and deploy the cloud function and database schema under the hello uniCloud project to the service space, and execute db_init to initialize the database
illustrate
- When creating a Tencent Cloud service space for the first time, a Tencent Cloud account will be created for the user and redirected to the Tencent Cloud real-name interface, and the service space can be opened after waiting for the real-name authentication review. If the Tencent Cloud real-name authentication prompts that too many accounts have been created under the ID card, you need to cancel the unused accounts on the Tencent Cloud official website.
- 阿里云每个账号可以有一个开发者版免费空间,此空间资源较少仅能用于测试开发。腾讯云无免费空间。
- 首次创建支付宝小程序云时,需前往uniCloud控制台开通支付宝小程序云服务空间,开通服务空间时需使用支付宝扫码授权开通支付宝小程序云服务。
Run the hello uniCloud project
- Run the project in the run menu, browser, app, applet can be. The uniCloud project is integrated with the cloud. After running the front-end, the console of the front-end and the cloud will appear at the same time.
# Develop your own first uniCloud project
- Create an uniCloud project
HBuilderX中新建项目,选择uni-app项目,并勾选启用uniCloud,在右侧选择服务供应商(支付宝小程序云、阿里云、腾讯云)
The project name is arbitrary, such as firstunicloud
- Associated Service Spaces
A developer can have multiple service spaces. Each service space is an independent serverless cloud environment. Cloud functions, databases, and storage between different service spaces are isolated.
Right-click on the project root directory uniCloud and select Associate Cloud Service Space, bind the previously created service space, or create a new service space.
- Create cloud functions/cloud objects
After the uniCloud project is created and bound to the service space, developers can create cloud functions (cloud objects are a type of cloud functions, and cloud functions can generally refer to common cloud functions and cloud objects).
Right-click in the uniCloud/cloudfunctions directory to create cloud functions/cloud objects

- After the cloud function is created, a directory is generated, and index.js is automatically generated in this directory, which is the entry file of the cloud function and cannot be renamed.
- After the cloud object is created, a directory is generated, and index.obj.js is automatically generated in this directory, which is the entry file of the cloud object and cannot be renamed.
If the cloud function/cloud object needs to import other js, it can be referenced in the index.js entry file.
For beginners, it is recommended to start with cloud objects, which are simpler and more intuitive than cloud functions.
In this tutorial, we create a cloud object named helloco.
- Write methods for cloud objects
Open index.obj.js, we add a sum method to it, the logic is to receive the incoming a and b2 parameters, and return the summation result.
module.exports = {
	sum(a, b) {
		// The validity check of a and b is omitted here
		return a + b
	}
}
- Call cloud objects on the front end
In the project home page, pages/index/index.vue, add a button, and execute the asynchronous method sum after clicking.
Import the helloco object in js and call its sum method
<template>
	<view class="content">
		<button @click="testco()">请求云对象的方法</button>
	</view>
</template>

<script>
	export default {
		data() {
			return {
			}
		},
		methods: {
			async testco() { // 注意异步
				const helloco = uniCloud.importObject('helloco') // 导入云对象
				try {
					const res = await helloco.sum(1,2) //导入云对象后就可以直接调用该对象的sum方法了,注意使用异步await
					console.log(res) // 结果是3
				} catch (e) {
					console.log(e)
				}
			}
		}
	}
</script>
- Run
Run the project to a browser or other platform, click the button on the page, the console will print the result: 3
HBuilderX comes with a cloud function local running environment, and it also chooses to connect to the local cloud function by default when running the project. It can be toggled in the top right corner of the front console in the bottom console.
You can right-click on the helloco cloud object to upload it to the uniCloud service space, and then switch to Connect to the cloud cloud function in the upper right corner of the front-end console, then the client is connected to the real uniCloud server on the live network.
For running debugging, there is a separate document, see details
- Summary
So far, you have developed the first uniCloud project and completed the first interaction between client and server.
This cloud object only performs a summation operation. In actual development, the summation on the server is not required, and the frontend can do the summation. The server should do more complicated things.
But you can perceive the development of uniCloud through this example, it is actually very simple. In particular, cloud objects break the tradition of sending json to the front-end by the server as an interface, making cloud services objectified, and making the server code as clear as writing front-end js.
Next, it is recommended to read through the documentation to further learn to master uniCloud.
# Using uniCloud in the cli project
If you want to use uniCloud in a cli project, you can refer to the following steps
- Import the cli project into
HBuilderX - If there is no appid, you need to open
src/manifest.json, clickRe-acquireatBasic configuration --> uni-app application ID - Right-click in the project root directory (src same level) to create an uniCloud cloud development environment
- Right-click on the uniCloud directory to associate the service space
- Done
Notice
- You can only use the menu of HBuilderX to run and release cloud functions, not the commands in
package.json - If the HBuilderX menu operation cannot meet the requirements, you can consider initializing the service space by yourself Service space initialization
- Although uni-app supports the development of other IDEs such as vscode, because uniCloud has extremely high security requirements, it only supports development with HBuilderX
- HBuilderX also supports cli. See details
# web console
Web console URL: https://unicloud.dcloud.net.cn
Right-click on the uniCloud directory in HX, or in the help menu, there are entry links.
# Notes on editing database data
The database can be edited in the web console. In a json document, entering strings, numbers, and bool values are all normal operations. But there are 2 special data types, time and geographic location, which have special writing method when editing, please note:
# Date added
When adding/modifying data in the web console, if you enter "2020-12-02 12:12:12", it will become a string instead of a date format. At this point, you need to add date type data in the following ways.
{
  "create_date": {
    "$date": 1606910053154 // 添加此时间戳对应的日期对象作为create_date
  }
}
Note: Timestamps don't need to be so complicated. Timestamps can simply be entered directly without quotes.
# Add geopoint
// Set the location field to a geographic location point with longitude 116 and latitude 38
{
  "location": {
    "type": "Point",
    "coordinates": [116,38]
  }
}
# Cross-domain processing using uniCloud in the Web
Documentation has been moved to: Cross-domain processing using uniCloud on the Web