
English
When the app starts, it takes a certain amount of time for the system to load the application and render the home page. In order to avoid the user's waiting, the mobile operating system provides a special startup interface design, allowing users to see a simple interface first, and then officially enter the application home page after the application is loaded.
This interface is called the startup interface, also known as splash or lauch screen.
After entering the application, the startup interface will automatically close at the right time and display the application home page, which can be configured in the manifest.json file.

The source view supports the following configurations:
| property | type | default value | description | minimum version |
|---|---|---|---|---|
| alwaysShowBeforeRender | Boolean | true | Whether to wait for the home page to render before closing the startup interface | 1.6.0 |
| autoclose | Boolean | true | Whether to automatically close the startup interface, it only takes effect when alwaysShowBeforeRender is set to false, if you need to [manually close](https://www.html5plus.org/doc/zh_cn/navigator.html#plus.navigator .closeSplashscreen) to start the interface, both alwaysShowBeforeRender and autoclose should be set to false. | |
| waiting | Boolean | true | Whether to display waiting snowflakes in the startup interface |
alwaysShowBeforeRender和autoclose属性组合设置,可配置以下三种关闭启动界面(splash)策略:
"app-plus" : {
    "splashscreen" : {
        "alwaysShowBeforeRender" : true
    }
}
"app-plus" : {
    "splashscreen" : {
        "alwaysShowBeforeRender" : false
    }
}
"app-plus" : {
    "splashscreen" : {
        "alwaysShowBeforeRender" : false,
        "autoclose" : false,
    }
}
Startup interface was originally a static png image. With the diversification of mobile device screens, in order to make the interface not deformed when each screen starts, developers need to make different images for more and more screen sizes. This brings many problems, including complex production and increased size of the app package.
The following start interface methods are provided in HBuilderX:
| Startup Screen | Platform Support | Features |
|---|---|---|
| 通用启动界面 | Android、iOS均支持。其中在iOS上通过storyboard实现 | 简单,自定义性弱、可适配不同屏幕 |
| 自定义启动图 | Android支持,同时支持使用.9.png图片;iOS可以打包,但从2020年6月30日起,无法提交Appstore | 为了适配不同屏幕尺寸,需要做大量图片 |
| Custom storyboard startup interface | Only supported by iOS, HBuilderX2.8+ version | Can adapt to different screens |
Tip: The startup interface settings need to be submitted to the cloud package to take effect
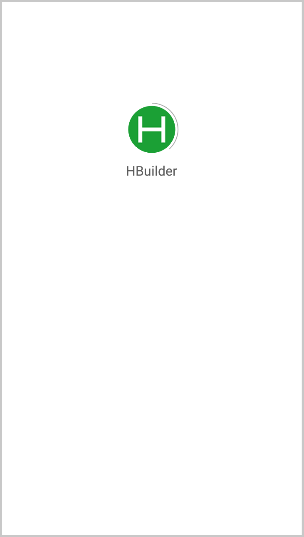
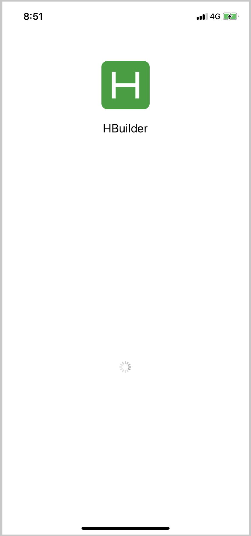
Universal startup interface is a simple startup interface that can adapt to different screens. It uses the logo and name of the app as elements, and automatically generates a startup interface that adapts to different screen sizes and different OS requirements.
The universal startup interface has the lowest threshold, and only requires the developer to configure the logo and name for the app in the manifest. And it complies with the go-live specifications of any app store. It's implemented on iOS through storyboards.
提示
通用启动界面是为了方便开发者而设计的,它不具有很强的灵活性,如果开发者有较强的自定义需求,Android平台请使用.9.png格式自定义启动图、iOS平台请使用自定义storyboard启动界面


If the app is turned on to adapt to dark mode/night mode/dark mode, the background color of the startup interface will automatically use dark color, and the text color will automatically use white.

目前HBuilderX中仅定义几种标准分辨率的启动图配置,而实际上存在很多不同分辨率的手机,导致启动图在一些不常见的设备会进行拉伸或压缩引起变形,Android平台为了解决此问题就出现了可以适配各种尺寸的一种图片格式“.9.png”。这是一种特殊的图片格式,它可以指定特定的区域进行拉伸而不失真。 使用.9.png的优点
.9.png图片和普通png图片的差异
制作.9.png图片
详细制作步骤可参考链接:Android中.9图片的含义及制作教程 可以使用在线.9.png生成工具:http://inloop.github.io/shadow4android/
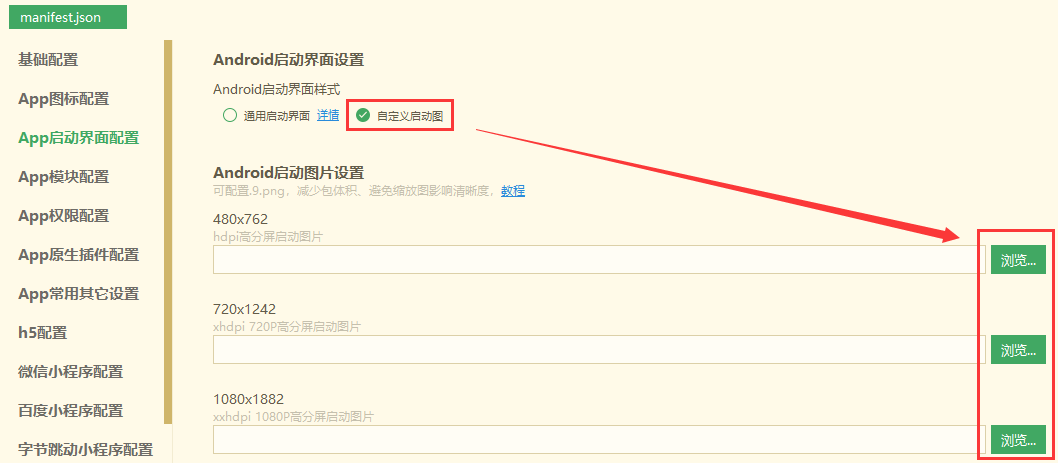
.9.png配置使用 打开项目的manifest.json文件,在“App启动界面配置”中的“Android启动界面设置”项下勾选“自定义启动图”,在各分辨率启动图设置框选择需要使用的.9.png图片(图片尺寸请按照提示尺寸对应上传),保存后提交云端打包即可。
不同尺寸的启动图是为了适配不同分辨率的手机,所以提交打包时请务必上传不同尺寸的启动图,切忌上传多张同尺寸启动图
You can refer to the .9 sample project done by the developer in Plugin Market
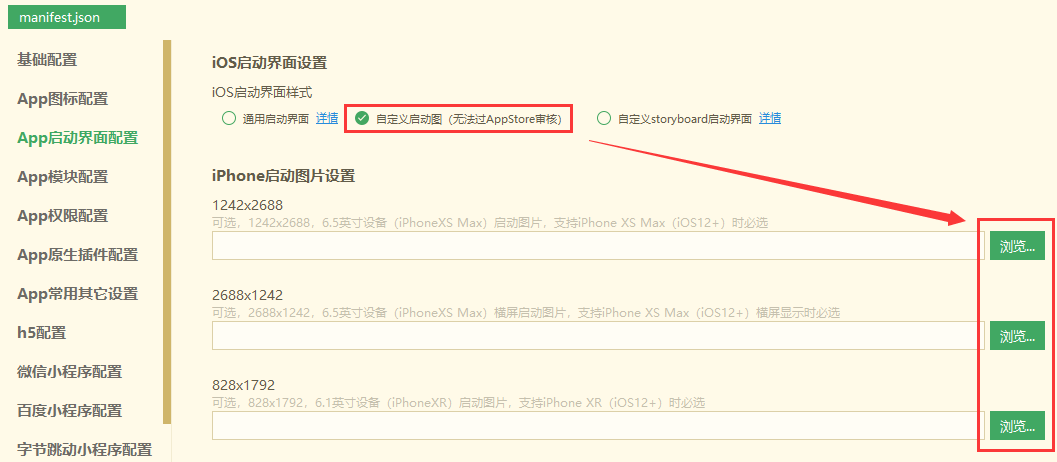
Tip: From June 30, 2020, the Apple AppStore audit requires that the app cannot use the launch image when launching, and must instead use Storyboard to create the launch interface. If you need to submit the AppStore, please use the Common Launch Interface Or custom storyboard launch interface.

Storyboard is a simplified layout interface provided by Apple, which describes the interface through xml and cannot be programmed. Although it is impossible to make a very flexible interface, it is no problem to meet the startup interface, such as setting the background color and background image, setting the foreground text, and the position of the image. The advantage of storyboard is that it starts fast. Before the real home page of the app is rendered, a Storyboard-based splash screen can be quickly provided to the user.
storyboard有两种制作方式: 1. 直接使用模板文件(点击下载)中提供的相对常用的 storyboard 模板,可在这个文件的基础上进行自定义(不需要 Mac 及 XCode,详情请查看附件中的 readme 教程) This storyboard file is suitable for portrait and landscape screens on various iPhone and iPad devices, and supports custom interface elements including:
2. Make it by yourself using xcode. Xcode provides a visual way to make storyboards, but it depends on Mac computers. For the tutorial of making storyboard in xcode, please search the Internet by yourself, please pay attention to the following precautions.

Precautions
Superview,不然启动图到 loading页面过渡时页面会跳动或者变形
